LaTeX page geometry and layout
Since we already figured out the document structure, fonts management, and text control, it's a good time to get to page properties and layout.
Contents
Document Class ↩
You start dealing with the page geometry as soon as you type the first command in the new document:
\documentclass[10pt,twoside,twocolumn,openany]{book}
There are many classes1 for LaTeX documents, but for our purposes, we will deal mostly with the book class, though article or report might be suitable for the shorter documents. There is also the memoir class2, based on the book class, providing even more options to stylize the output.
Important \documentclass options:
- Font size:
10pt(default)11pt12pt
- Paper size:
letterpaper(default)a4paper(default in pdfLaTeX)a5paperb5paperexecutivepaperlegalpaper
- Sidedness:
twoside(default for thebookclass) - print on both sides of paperoneside- print on one side of paper
- Chapters:
openany- chapters begin on the next page availableopenright- chapters begin only on right-hand pages
landscape- to specify the landscape orientationtwocolumn- to specify the two-column documentdraft- indicate hyphenation and justification problems, suppress the inclusion of images
Geometry ↩
To gain more control over the page geometry, you can employ the geometry package.3
You can either declare the desired options during the package loading (\usepacakge[options]{geometry}) or later, by calling the \geometry{options} command. To switch the geometry mid-document, \newgeometry{options}, \restoregeometry, \savegeometry{name}, and loadgeometry{name} commands will be of use.
Important geometry package options:
paperorpapername:- from
a0papertoa6paper - from
b0papertob6paper - from
c0papertoc6paper - from
b0jtob6j- Japanese Industrial Standards B-series - from
ansiapapertoansiepaper- ANSI series letterpaperexecutivepaperlegalpaperscreen- 225x180mm, for presentations with video projectorpaperwidth=length- width of the paperpaperheight=length- height of the paperpapersize={width,height}- width and height combinedlandscape- landscape orientationportrait- portrait orientationtwoside- twoside page modeonecolumn- one column text mode (default)twocolumn- two column text mode
- from
- page margins:
left=length,lmargin=length,inner=length- left (oneside) or inner (twoside) marginright=length,rmargin=length,outer=length- right (oneside) or outer (twoside) margintop=length,tmargin=length- top marginbottom=length,bmargin=length- bottom marginhmargin=length,hmargin={left,right}- left and right marginsvmargin=length,vmargin={top,bottom}- top and bottom marginsmargin=length,margin{hmargin,vmargin}- all margins
- other dimensions:
head=length,headheight=length- header heightheadsep=length- distance between header and textfoot=length,footskip=length- distance between text and footernoheadfoot,nohead,nofoot- eliminate spaces for header and/or footerfootnotesep=length- distance between text and footnotescolumnsep=length- distance between columns intwocolumnmodetextwidth=length,textheight=length- set text size directly
There are too many options in the geometry package to list them all here, so don't forget to check out its documentation.
Debug ↩
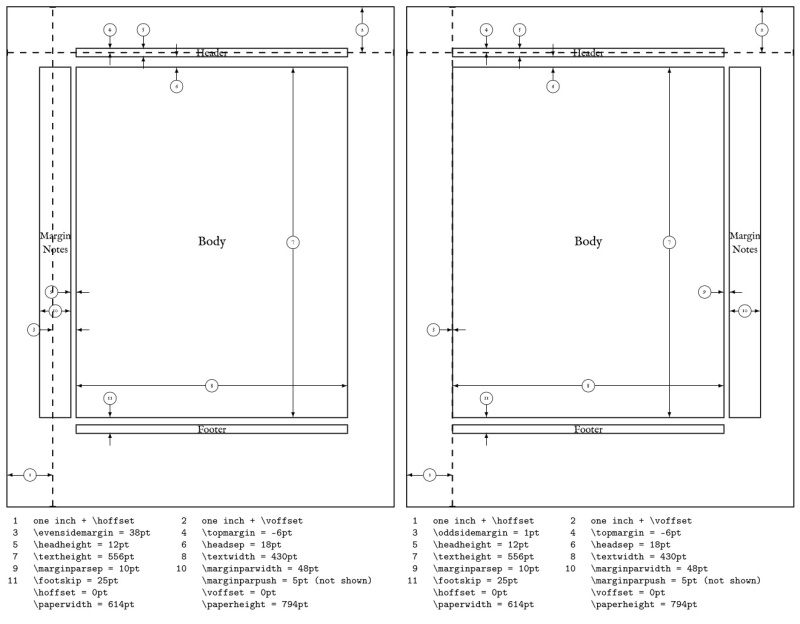
Besides the draft option of \documentclass, you can use the showframe package4 or the showframe option of the geometry package to draw the layout diagram over all pages of your document.
Call the \layout{} command of the layout package5 to print out the current layout dimensions of your document:
Landscape pages ↩
The lscape6 and pdflscape7 packages provide the landscape environment that allows you to create rotated landscape pages in a document with portrait orientation. The difference between these two packages, is that pdflscape will rotate the landscape page the correct way up when viewed on the screen.
\usepackage{pdflscape}

\begin{landscape}
  LANDSCAPE PAGE CONTENTS
\end{landscape}
Penalties ↩
Penalties8 in LaTeX are values that help to automate the text formatting by discouraging certain unwanted behaviors, like line and page breaks at bad points. Here are just some of these with the default values assigned for reference:
\brokenpenalty=100- for a page break after a hyphenated line\clubpenalty=150- for the first line of a paragraph left alone on the previous page\displaywidowpenalty=50- for a break before the last line of a paragraph\exhyphenpenalty=50- for hyphenation in a word that already contains a hyphen\floatingpenalty=20000- for splitting an insertion (e.g. a split footnote)\hyphenpenalty=50- for an automatic hyphenation\linepenalty=10- for each new line in a paragraph\widowpenalty=150- for the last line of a paragraph being alone at the start of the next page
Increasing these values (to about 300-500) could lead to cleaner automatic text layout, but setting them too high (10000 or more), effectively forbidding this behavior altogether, might lead to strange results.
Fitting the last line ↩
While club lines (also called "orphans") can easily be dealt with by using \break or \clearpage commands, fitting the last line of a paragraph on the same page to avoid "widow" lines could be far trickier.
One of the ways to "compress" the page was already brought up previously. One alternative solution you should be aware of, is that by putting \looseness=-1 at the end of a paragraph, you can reduce its length enough to make it one line shorter. If this doesn't help, you may instead make the current page one line taller by calling \enlargethispage{\baselineskip}.
Columns ↩
While twocolumn option we encountered earlier is good enough for the most cases, you surely also want to have some more advanced tools in your repertoire.
Balancing the columns ↩
In twocolumn mode, if the second column of the last page is under-full, you can balance it with the first column, by calling the \balance command from the balance package.9
Changing the number of columns ↩
While you can change one column layout to two columns and back by invoking the \twocolumn and \onecolumn commands, this will start a new page. If you want to change the number of columns mid-page or have more than two columns, you should look into the multicol package.10 The basic usage is self-explanatory:
\begin{multicols}{num}
  [header][length]
  MULTICOLUMN TEXT
\end{multicols}
Optional header argument is the text that will span over all columns at the start of the environment, and the second optional length argument could be used to override the \premulticols value (see below) when determining if there is enough space on the page for the environment.
You can configure the output with following variables:
\premulticols- the minimum space required for the environment; if not met, a new page is started\columnsep- the space between columns\columnseprule- the width of a vertical rule separating the columns (0by default)\columnseprulecolor- the color of the column separator rule (\normalcolorby default)
📝 NOTE: The multicols environment balances the columns by default. If you don't want balanced columns, use multicols* (starred version) instead.
By nesting one multicols environment inside the other one, you can achieve some interesting results:
\lipsum[1]
\begin{multicols}{2}
\lipsum[2]
\end{multicols}
\begin{multicols}{2}
\columnseprule=1pt
\begin{multicols}{2}
[\section{This long title spread over both columns of the inner multicol environment}]
\lipsum[3-4]
\end{multicols}
\columnseprule=0pt
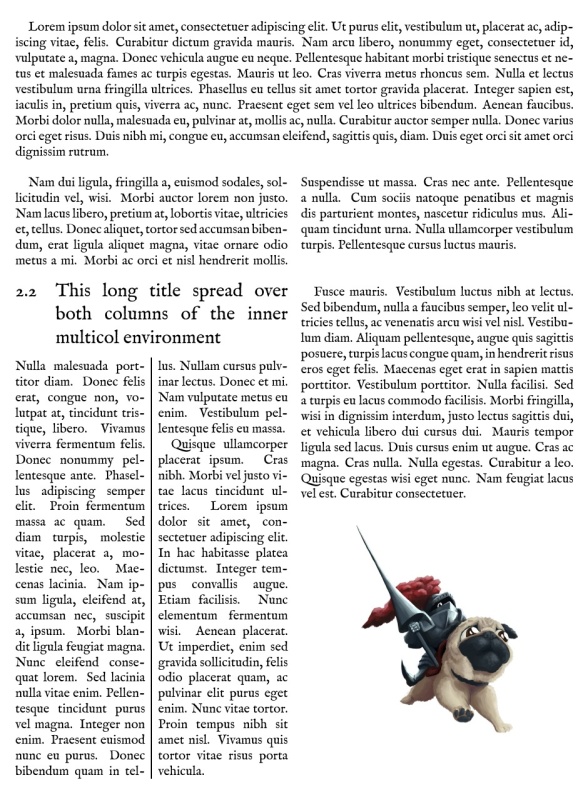
\lipsum[5]
\centering
\includegraphics[width=0.6\linewidth]{pugknight}
\end{multicols}
Variable column widths ↩
If you need your columns to be of uneven width, the vwcol package11 and its eponymous environment will come to your aid.
  \begin{vwcol}[options]
    MULTICOLUMN TEXT
  \end{vwcol}
Using the options argument, you will control the appearance of the environment. The other way to do it, is to pass the same options in the \vwcolsetup{options} command.
The main option that should always be present is widths={}, which will determine the number and size of the columns. For example, widths={0.75, 0.25} will produce a two-column environment with the first column being three times wider than the second one. The other possible options are:
sep=value- column separator width; the value could be:- a length
- a ratio of the
\linewidth; the default issep=0.05(5% of the\linewidth) - a
fillkeyword, that adds stretchable space between the columns
presep- whether to add space before the columnspostsep- whether to add space after the columnssidesep- whether to add space before AND after the columnsrule=value- the width of the rule; the value could be:- a length (default is
0.4pt) - a ratio of the
\linewidth - a
nonekeyword, which is equivalent torule=0pt
- a length (default is
rulecolor=color- the color of the ruleprerule- whether to draw a rule before the columnspostrule- whether to draw a rule after the columnssiderule- whether to draw a rule before AND after the columnsjustify=- paragraph justification within the columns:ragged(default)raggedleftflushcenter
indent=length- (default is1.5em) paragraph indentation size within the columns, if relevant (the first column always begins with a\noindent)
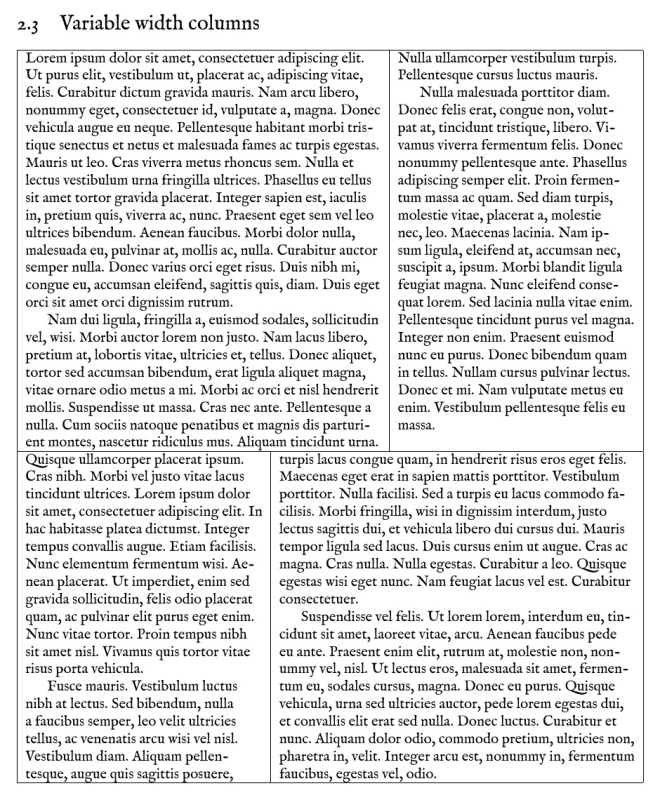
\section{Variable width columns}

\hrule

\begin{vwcol}[widths={0.6,0.4}, siderule]
  \lipsum[1-3]
\end{vwcol}

\hrule

\begin{vwcol}[widths={0.4,0.6}, siderule]
  \lipsum[4-6]
\end{vwcol}

\hrule
Grid system ↩
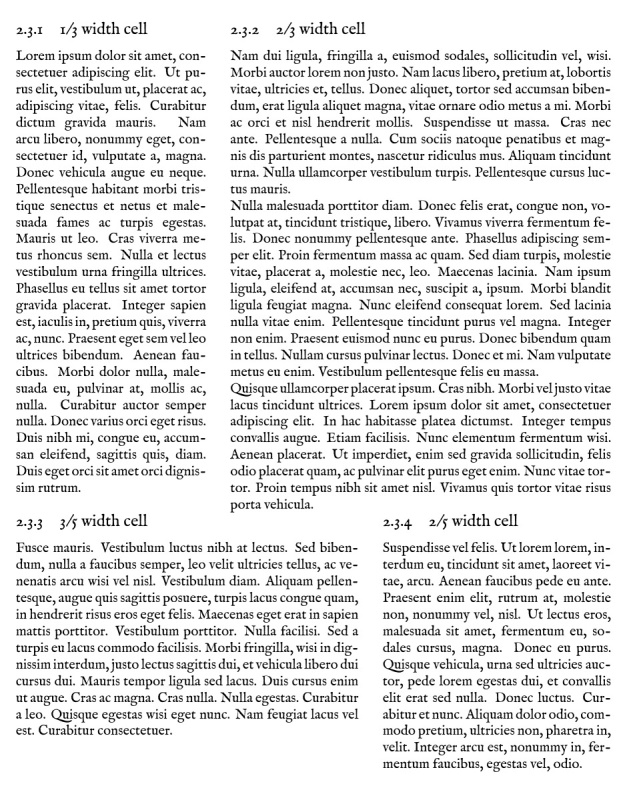
The grid-system package12 provides a simple but powerful platform for breaking the page area into an arbitrary number of variable width cells. It does so by using combinations of Row and Cell environments:
\begin{Row}[options]
  \begin{Cell}{number}
    FIRST CELL
  \end{Cell}

  \begin{Cell}{number}
    SECOND CELL
  \end{Cell}
\end{Row}
The only available option for the Row environment is cellsep (equal to 1.75em by default), specifying the horizontal distance between the columns.
The number argument of the Cell environment declares the ratio of the page width the cell will span over. For example, if there are two cells in the row, declared as {Cell}{2} and {Cell}{1}, the first one will be two times wider than the second one.
\begin{Row}
  \begin{Cell}{1}
    \subsection{1/3 width cell}
    \lipsum[1]
  \end{Cell}

  \begin{Cell}{2}
    \subsection{2/3 width cell}
    \lipsum[2-4]
  \end{Cell}
\end{Row}

\begin{Row}
  \begin{Cell}{3}
    \subsection{3/5 width cell}
    \lipsum[5]
  \end{Cell}

  \begin{Cell}{2}
    \subsection{2/5 width cell}
    \lipsum[6]
  \end{Cell}
\end{Row}
Shaping text ↩
Wrapping text around figures ↩
If you have a small illustration or a short paragraph, you may want your main text to beautifully wrap around it. This is possible with the wrapfig2 package,13 which provides a set of environments for different types of content:
{wrapfigure}[lines]{location}[overhang][width]*{wraptable}[lines]{location}[overhang][width]*{wraptext}[lines]{location}[overhang]{width}{wrapfloat}{object name}[lines]{location}[overhang]{width}- the underlying "parent" environment
📝 NOTE: For starred versions of the environments that have them, the star is placed at the end of the environment definition, not in the name.
The parameters:
lines- the number of indented lines;wraptextand starred versions of other environments will treat it as the correction (plus/minus number of lines) to the computed valuelocationcan take the following values:l- leftL- floating leftr- rightR- floating righti- inner marginI- floating inner margino- outer marginO- floating outer margin
overhang- by how much the object will protrude into the adjacent marginwidth- the width of the object
The \includeframedtext command inside the wraptext environment allows to easily decorate the text:
\includeframedtext[width]{contents}[options]
width- text widthcontents- the text itselfoptions:backgroundcolor=color- (default is a light grey)framecolor=color- the color of the framefboxrule=length- the thickness of the framefboxsep=length- the distance between the text and the framefontstyle=style- any possible declaration of the font characteristics (size, series, shape)insertionwidth=lengthradius- the radius of the frame (equal to\fboxsepby default)
📝 NOTE: It seems that radius=0pt doesn't work, but you can use a very small value (radius=1sp) to achieve sharp corners.
\begin{wrapfigure}[-1]{r}*% the star turns line count to line correction value
  \includegraphics[width=0.45\linewidth]{pugknight}
\end{wrapfigure}

\lipsum[1-2]
\vspace{\baselineskip}

\begin{wraptext}[-1]{l}% don't need the star with the wraptext environment
  \vspace{-\baselineskip}% bring the text one line higher
  \includeframedtext{%
    \lipsum[3]
  }[backgroundcolor=white, fontstyle=\em]
\end{wraptext}

\lipsum[4-5]
Shaped paragraphs ↩
Finally, to fit a paragraph into an arbitrary shape, you can employ the shapepar package.14 It implements three main commands to shape the paragraph:
\shapepar[scale]{shape} Paragraph text.- the default command\Shapepar[scale]{shape} Paragraph text.- typeset the paragraph in a box without extra horizontal padding\cutout{side}(hoffset, voffset) settings \shapepar ...- nestle the paragraph in a cut-out at the side of the running text
The optional scale argument, if given, scales the shape so one unit of the shape equals the scale, and the shape is filled with white space after the paragraph text.
Here's an overview of the default shapes included in the package. Even more shapes are provided in separate *shape.def files. There are also corresponding commands to use each shape.
| Shape | Command | Description |
|---|---|---|
\squareshape |
\squarepar |
Square |
| `\circleshape | \circlepar |
Circle |
\CDshape |
\CDlabel |
Circle with circular hole |
\diamondshape |
\diamondpar |
Diamond (♦) |
\heartshape |
\heartpar |
Heart (♥) |
\starshape |
\starpar |
Five-point star |
\hexagonshape |
\hexagonpar |
Hexagon |
\nutshape |
\nutpar |
Hexagon with circular hole |
\rectangleshape{height}{width} |
Rectangle shapes |
Creating your own shapes is possible as well.
\twocolumn

\lipsum[1]

\shapepar[0.88\linewidth]{\circleshape}
\lipsum[2]

\lipsum[3]

\cutout{r}(-0.25\linewidth, 6\baselineskip)\shapepar{\hexagonshape}
\lipsum[4]

\lipsum[5]
Discuss this post on Reddit