Hexagonal maps with Inkscape and Krita
Continuing from the previous time, let's see how we can do a hex map using Inkscape1 and Krita2. No default implementation of this is available, but do not let this fact dissuade you — consider it a mere occasion to hone your skills with your trusty tools.
📝 NOTE: This tutorial assumes basic knowledge of working with the mentioned software. If you are new to this, both editors have beginner tutorials and manuals linked on their home pages.3,4
Contents
Inkscape ↩
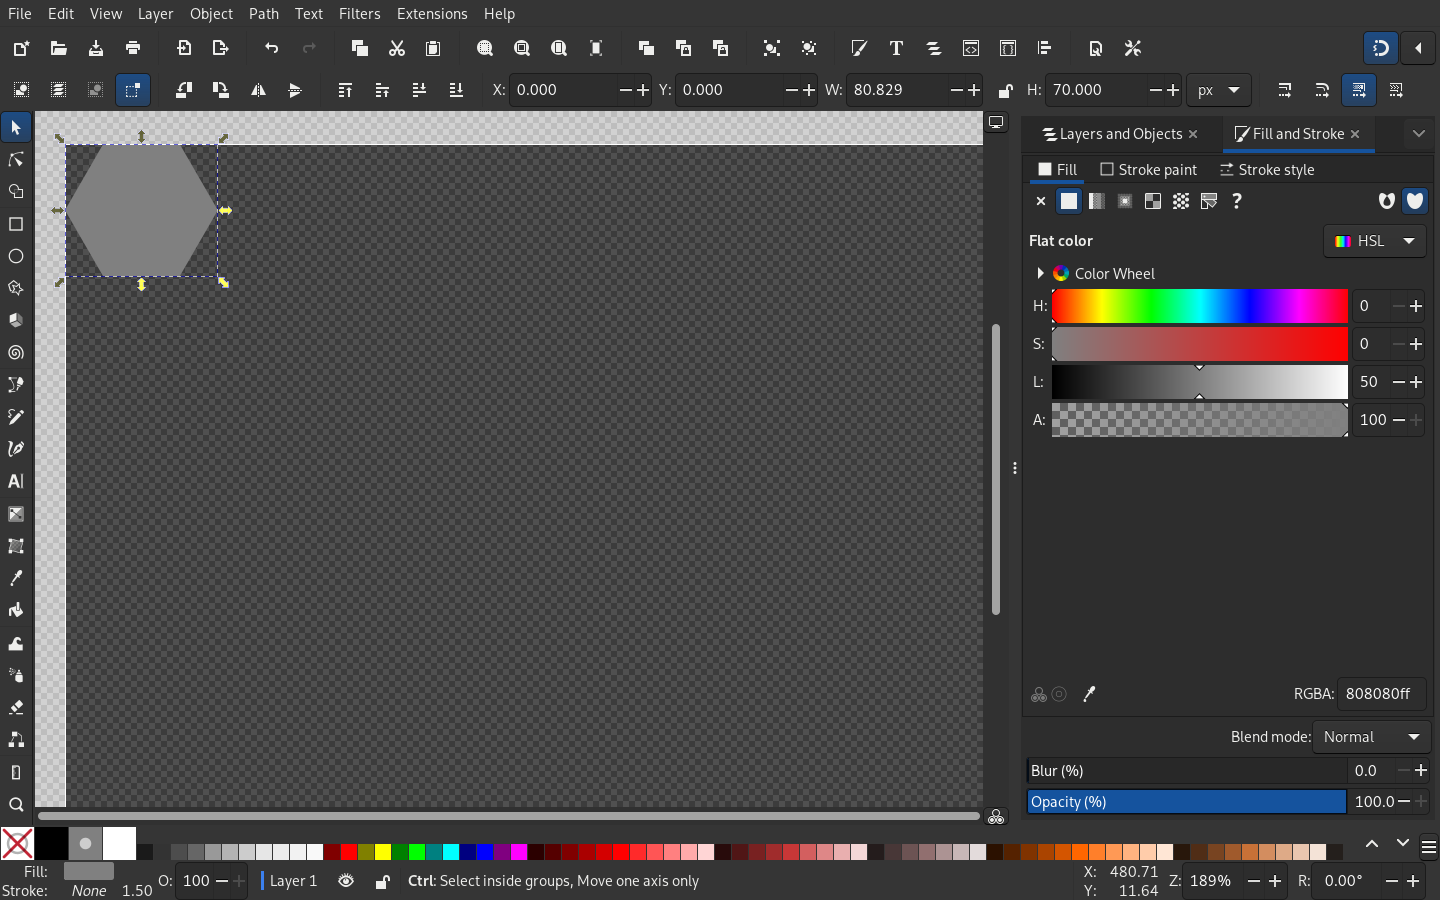
Let's start simple, with the Star/Polygon Tool (*). Set it to the polygon mode, with Corners set to 6, and both Rounded and Randomized options set to 0.
📝 NOTE: Hold Ctrl to limit the rotation during the creation of the polygon, and to keep the aspect ratio during its scaling.
Place the newly created polygon at 0:0 coordinates. Note that the stroke is off (set to transparency).
Now, with Snapping mode enabled (%), you can duplicate the hex as many times as needed, snapping them all corner to corner.
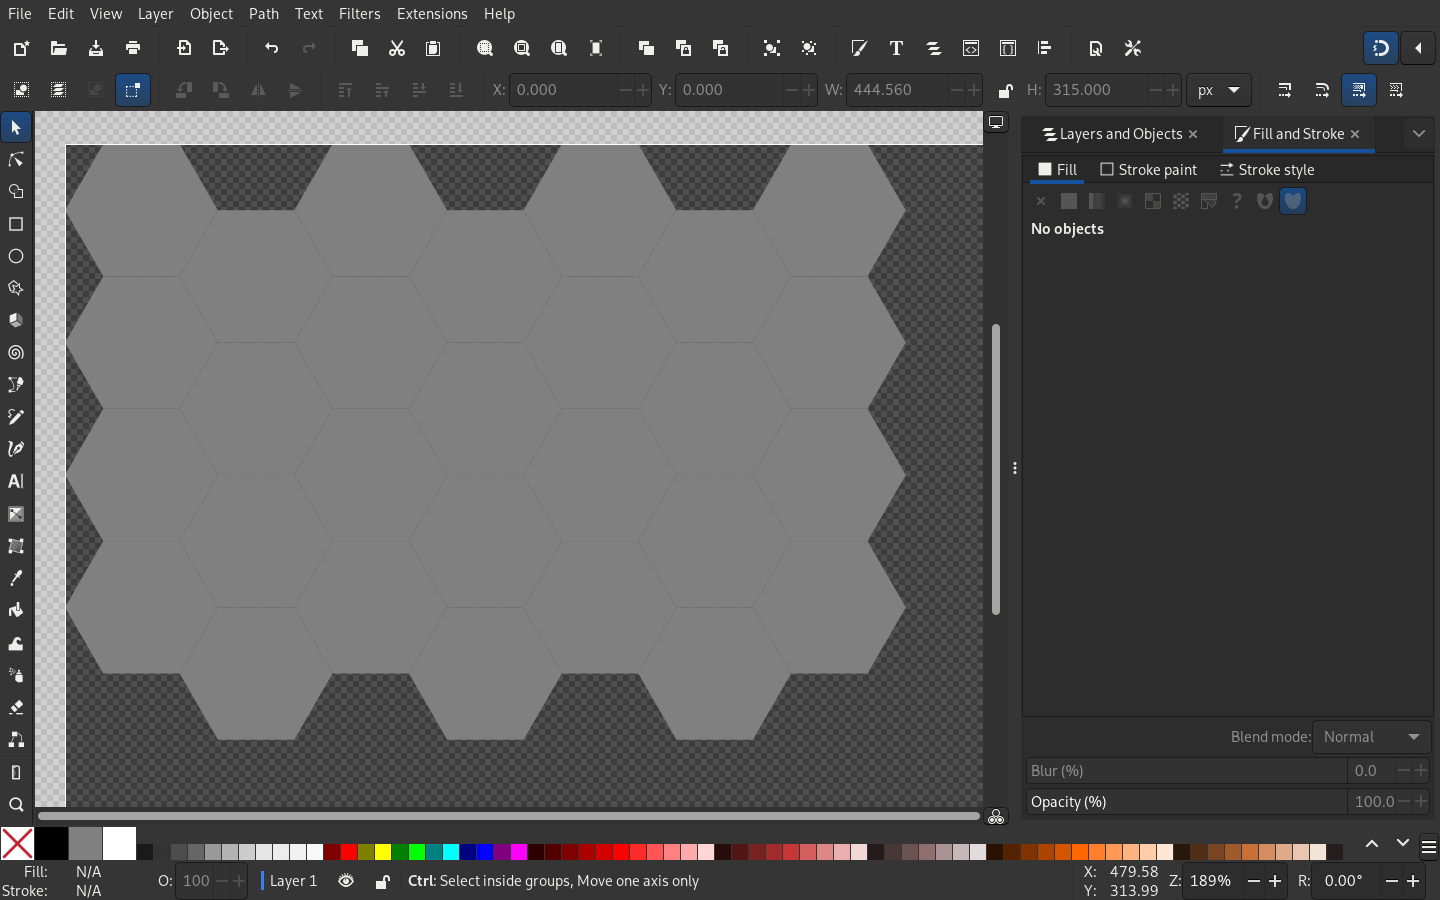
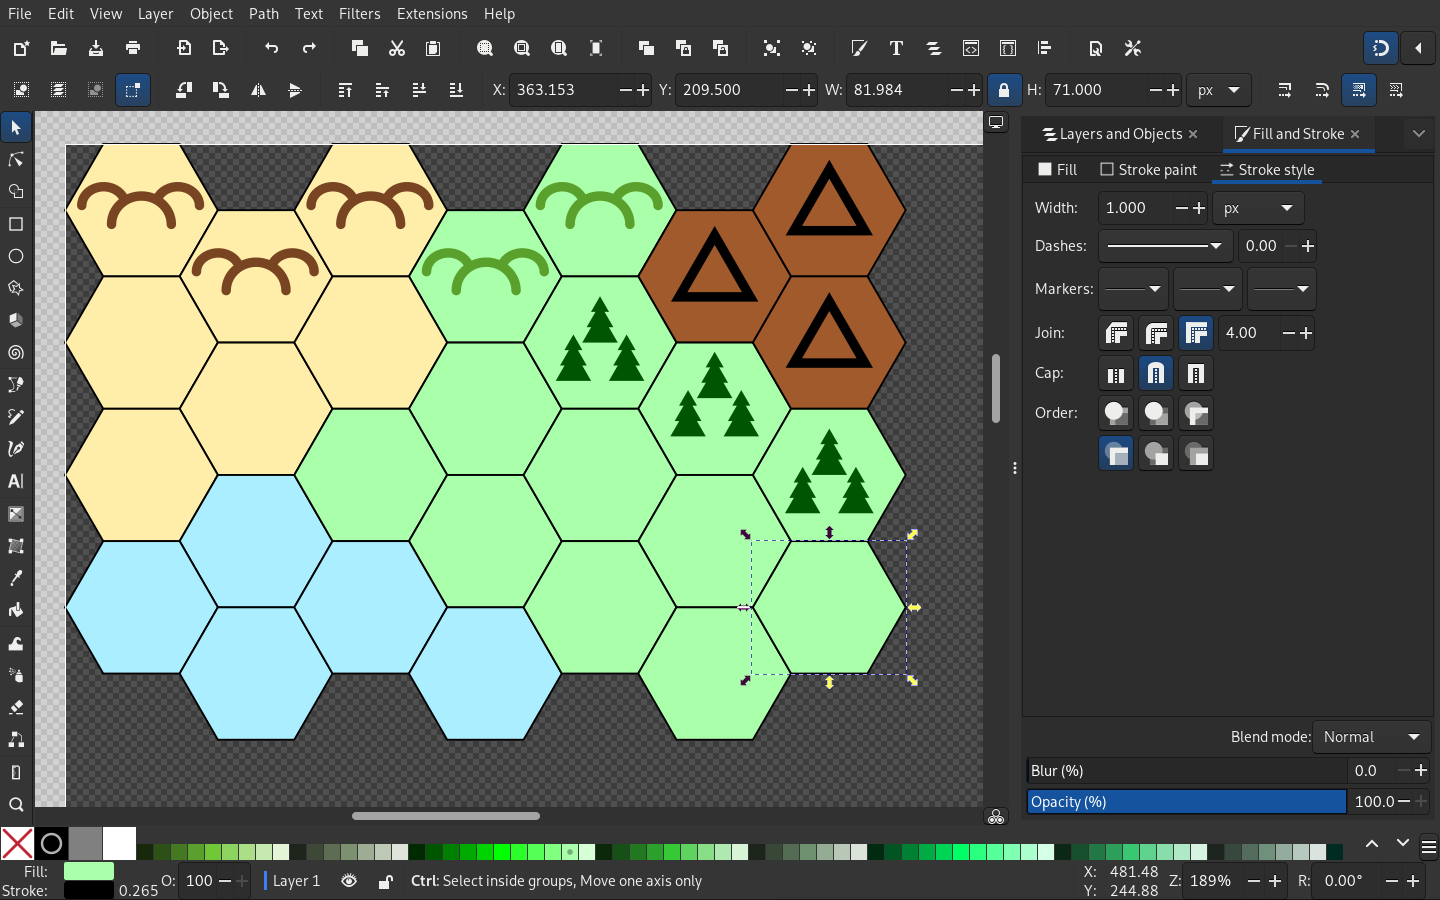
This is a quick and simple method for small maps. You can then decorate each hex as you wish with different colors and shapes, or even by adding existing images to the mix.
Nevertheless, as the map scale grows, the amount of polygon snapping you must do manually also increases. There should be some automation for this, and indeed, there is more than one, even.
Start with a single hexagon again. Open the Path → Path Effects… panel (Ctrl+&) and add the Tiling effect from the drop-down list. Configure the parameters until you get the desired results.
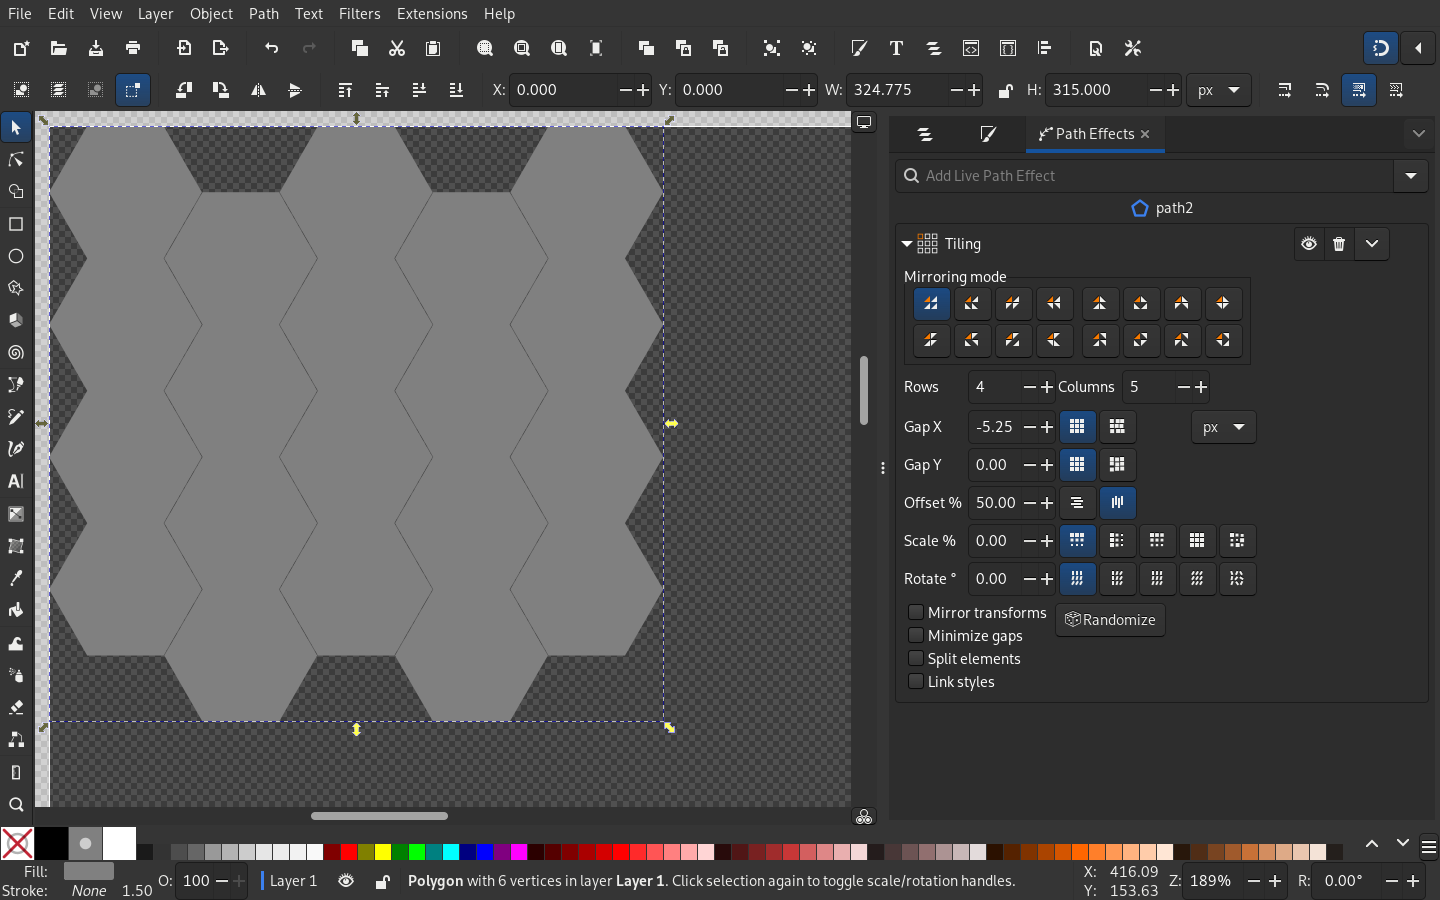
With this powerful tool, you can make a map of any size in a moment. This can be used, for example, to fill the whole page with a grid, disabling the fill, and setting the stroke to some color.

To edit each object separately, convert the effect to a normal path: Path → Object to Path (Shift+Ctrl+C) and then Break Apart (Shift+Ctrl+K) into individual polygons.
Another way to achieve a similar effect is the Edit → Clone → Create Tiled Clones… dialog. It's more complex and provides some additional functionality which I leave you to discover on your own.5
Krita ↩
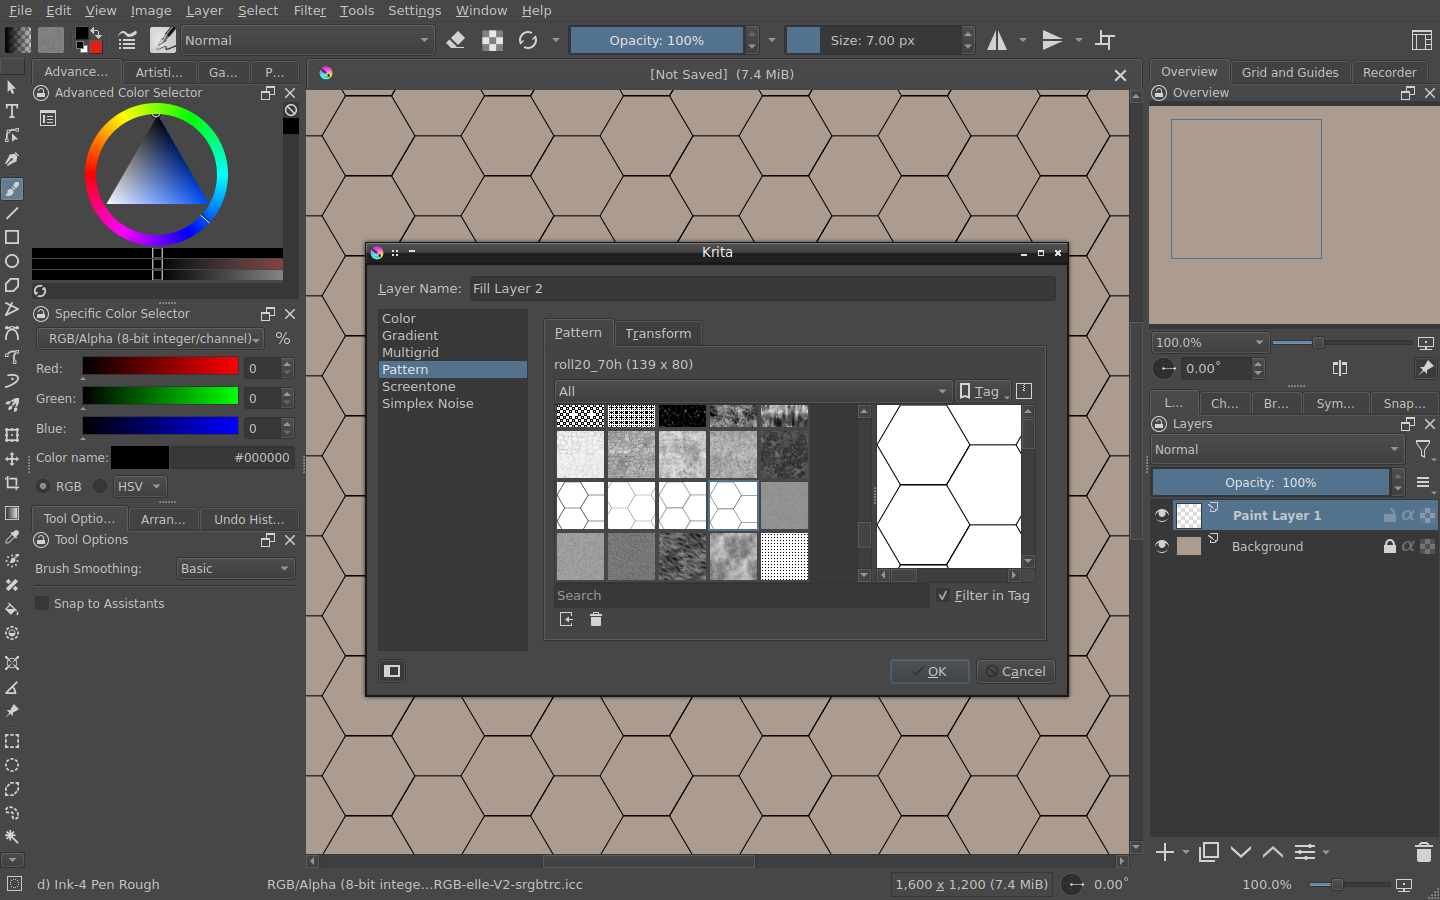
Moving to Krita, the most obvious way to create a hex grid is to use a suitable pattern in a Fill layer (Layer → New → Add Fill Layer…).

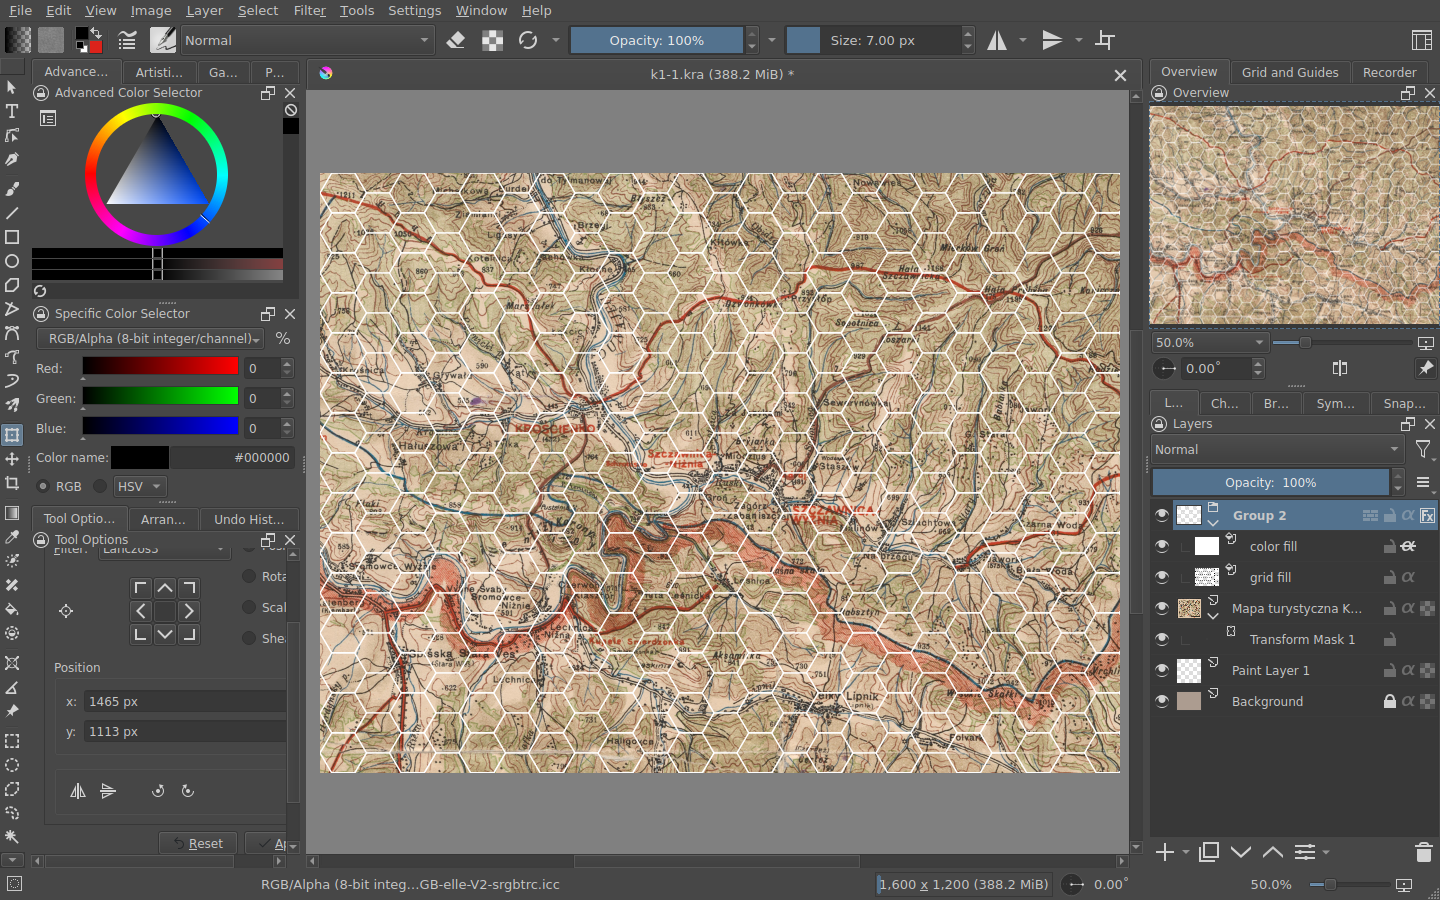
Let's take some random map and place it underneath the grid, scaling it with a Transform Mask so each hex will be equal to 1 km from top to bottom.
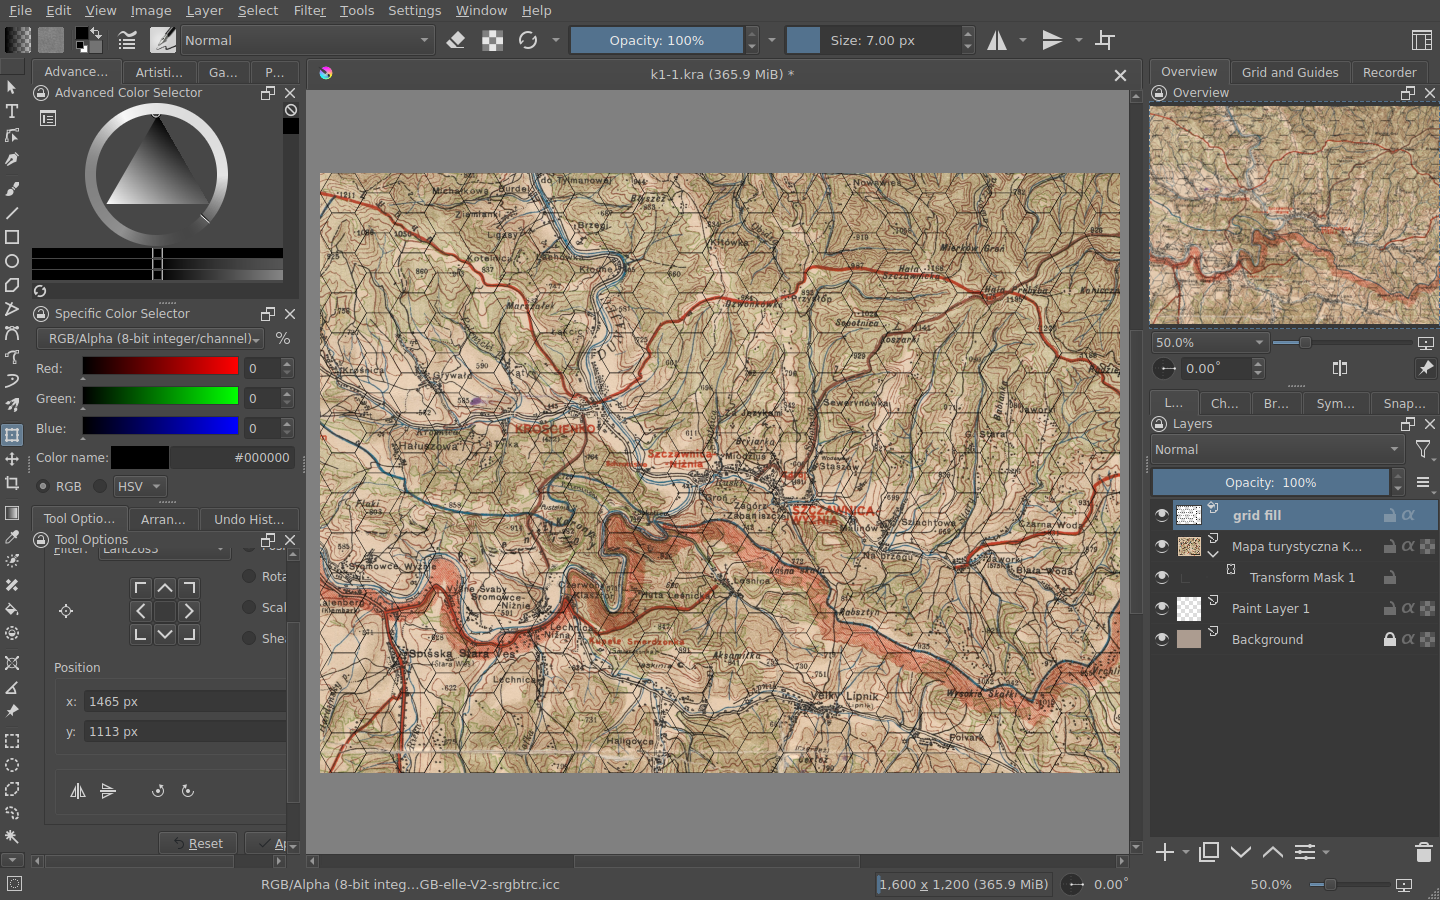
Source: "Mapa turystyczna Karpat Polskich. Szczawnica-Pieniny-Żegiestów"6
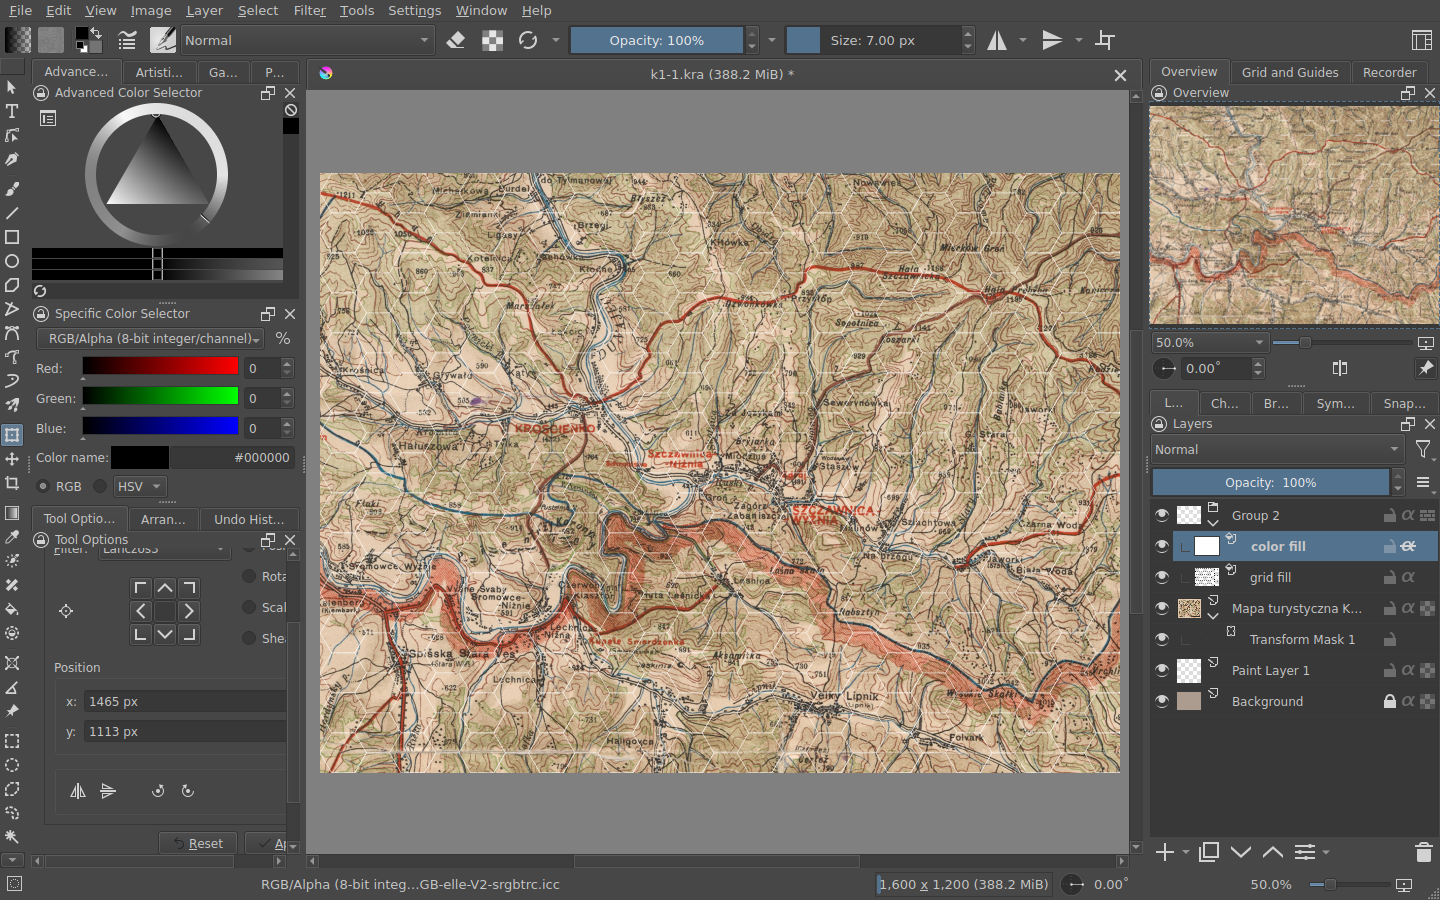
To change the color of the grid, place it into a group (Ctrl+G), adding a Fill Layer of some color over it and enabling its Inherit Alpha property (F3). This also works with other types of layers, so you have a good amount of possibilities here.
You can also make the lines thicker without the need for a different pattern. Open the Layer → Layer Style… dialog of the whole group and enable the Stroke effect, setting the needed properties.
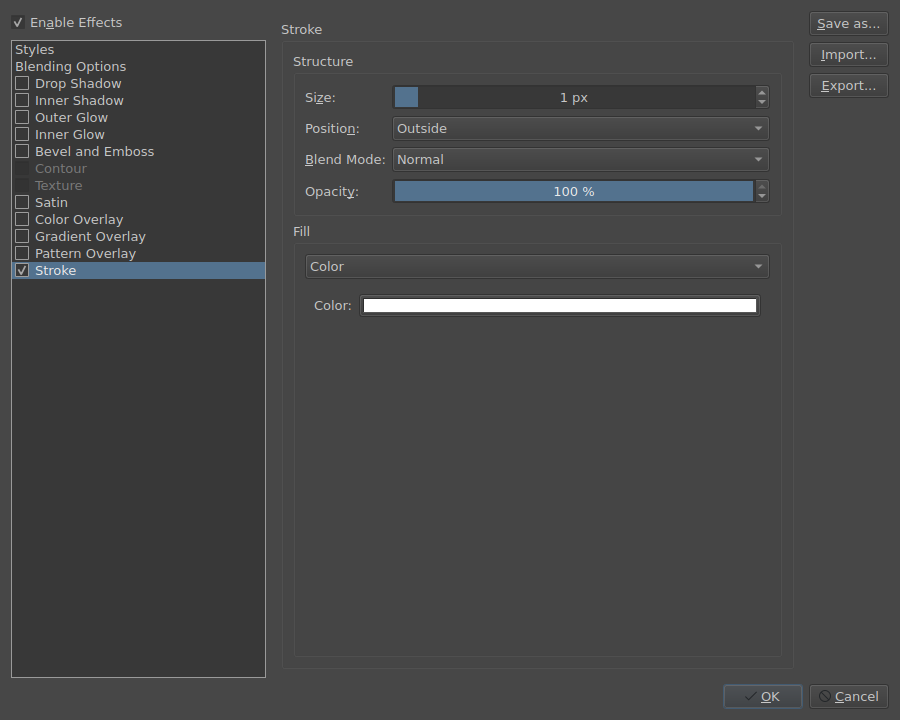
You will see a small Fx symbol appearing near the layer when an effect is enabled.
That's all for today. Have questions about other graphic topics? Let me know so I can cover them in the future!
Discuss this post on Reddit