DIY dice box print
This is a guide on how to transfer an image onto a wooden surface using a laser printer and some widely available materials.
Materials
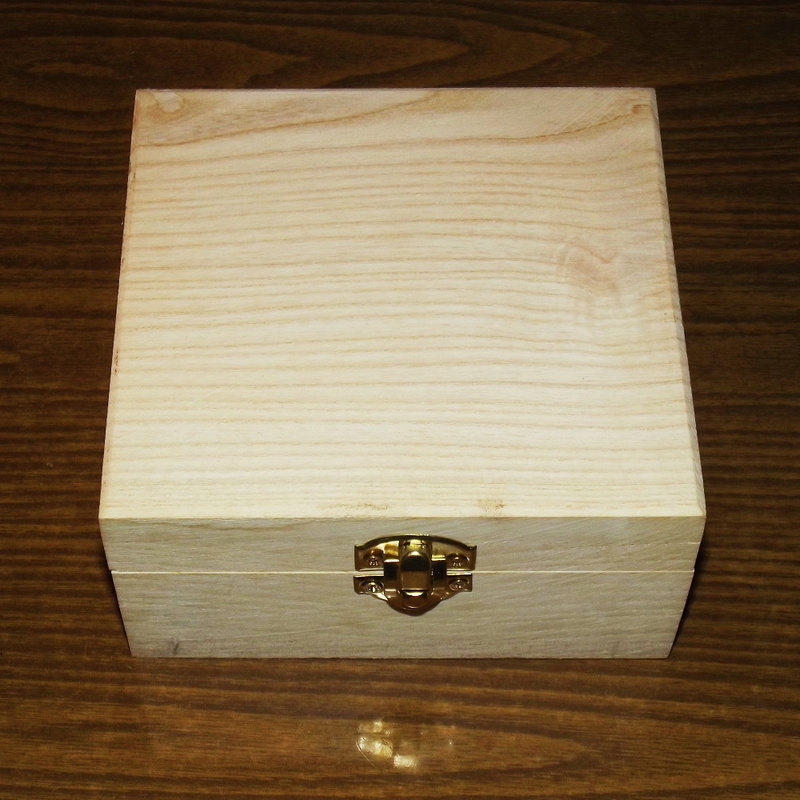
- plain wooden box (DIY, decoupage, unfinished, etc.)
- sheet of fine sandpaper
- degreaser
- warm water
- PVA glue (a.k.a. wood glue, white glue, school glue, carpenter's glue, Elmer's glue)
- varnish
- velvet fabric (for the box lining)
Process
Step 1
Use the sandpaper to polish the wooden surface as smooth as possible. Then clean and degrease.
Step 2
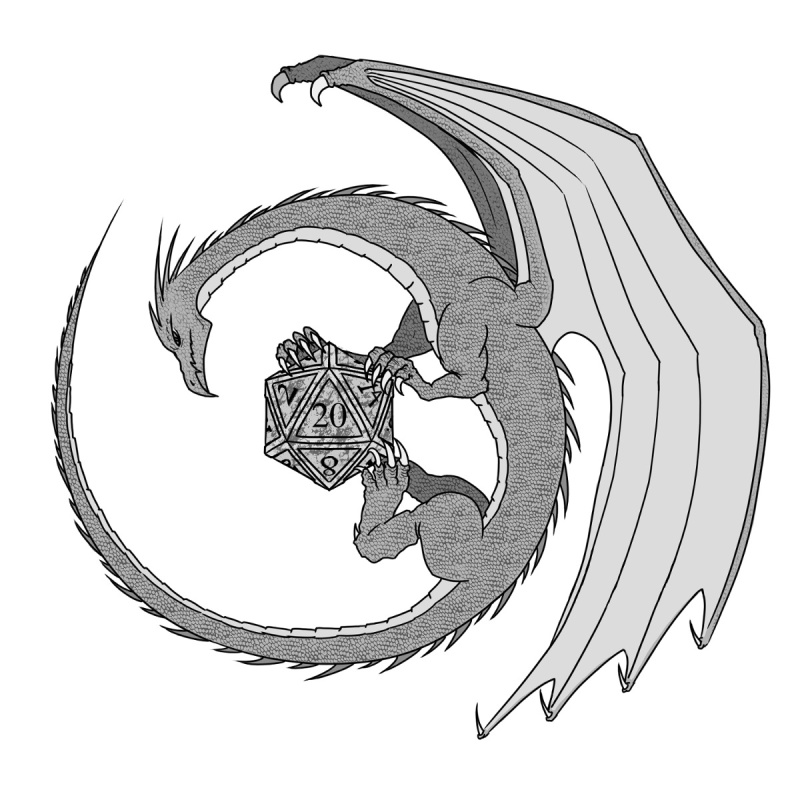
Print your image on a laser printer (make sure you turned off economy settings). Then cover the whole image with an adhesive scotch tape, overlapping the seams. Afterwards, trim excess parts of the sheet and tape to match the box size.

Step 3
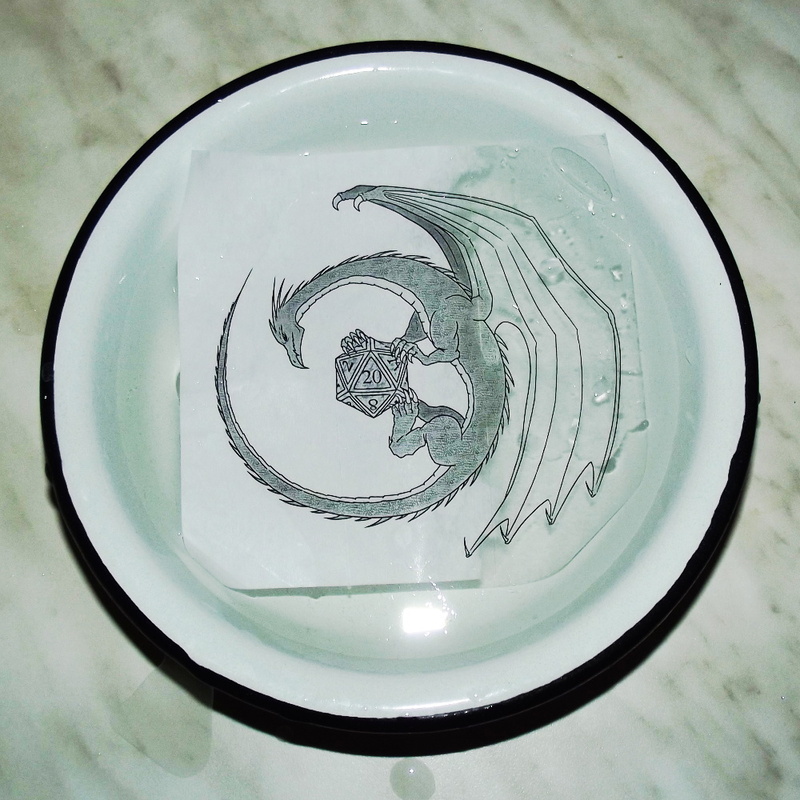
Soak the image in warm water for a while. Then start carefully peeling off the paper. The image should be on the tape layer now.
Step 4
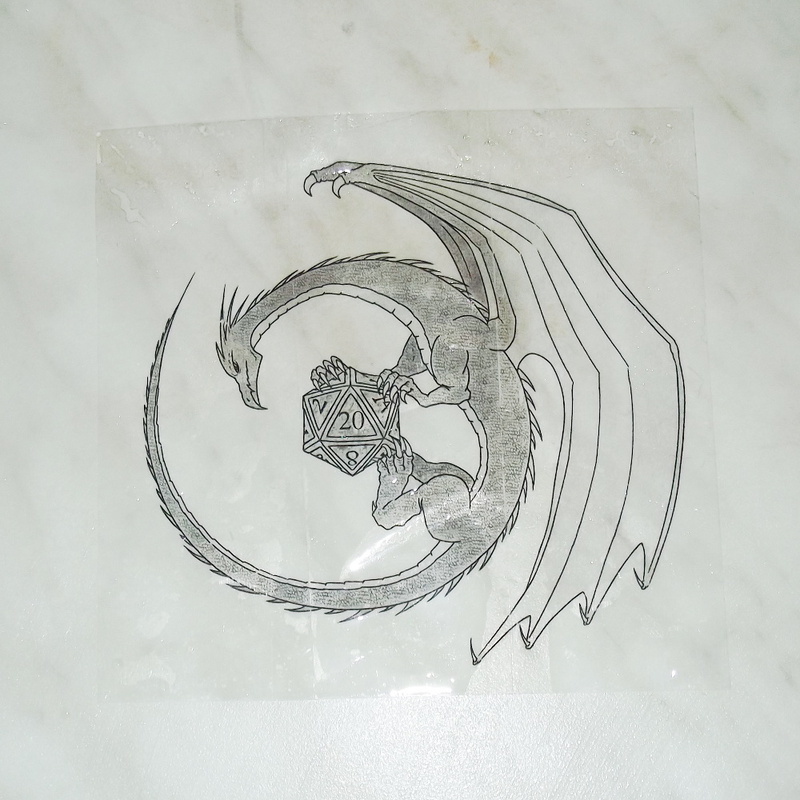
Let the image dry. When remaining bits of parer become visible, remove them using warm water.
Step 5
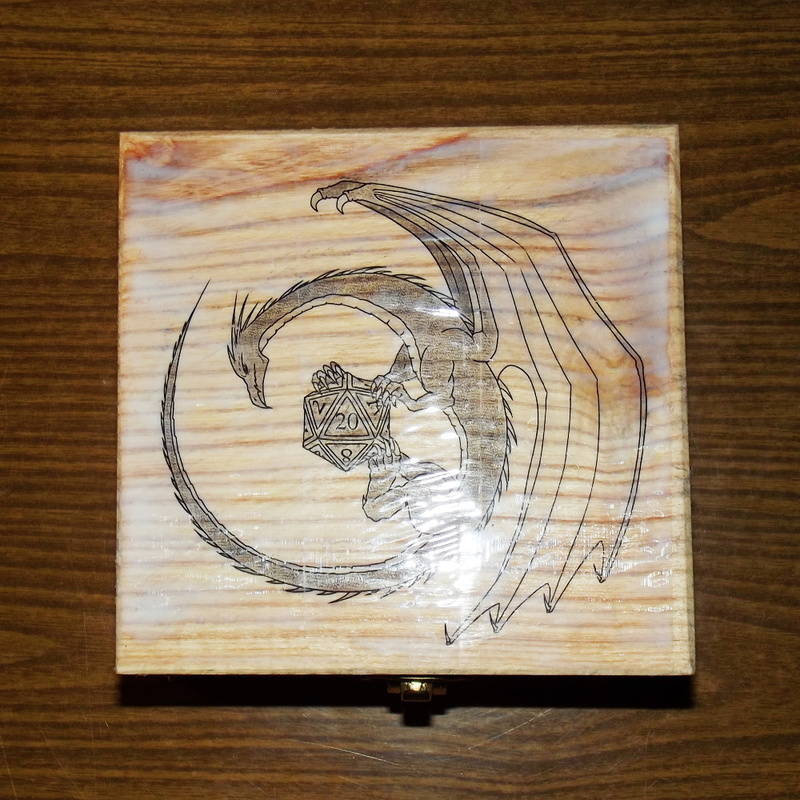
Paste the image on the box, using PVA glue. Then leave it for a day to fully dry.
Step 6
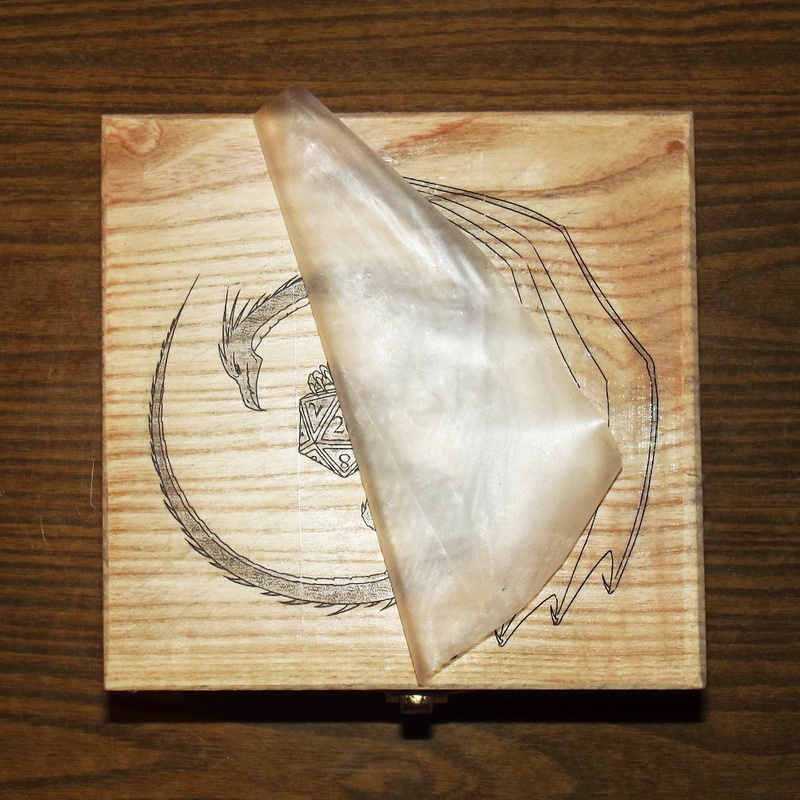
Slowly and carefully peel off the tape. The image should be transferred on the box. Check it and, if needed, make minor corrections with a pencil.
Step 7
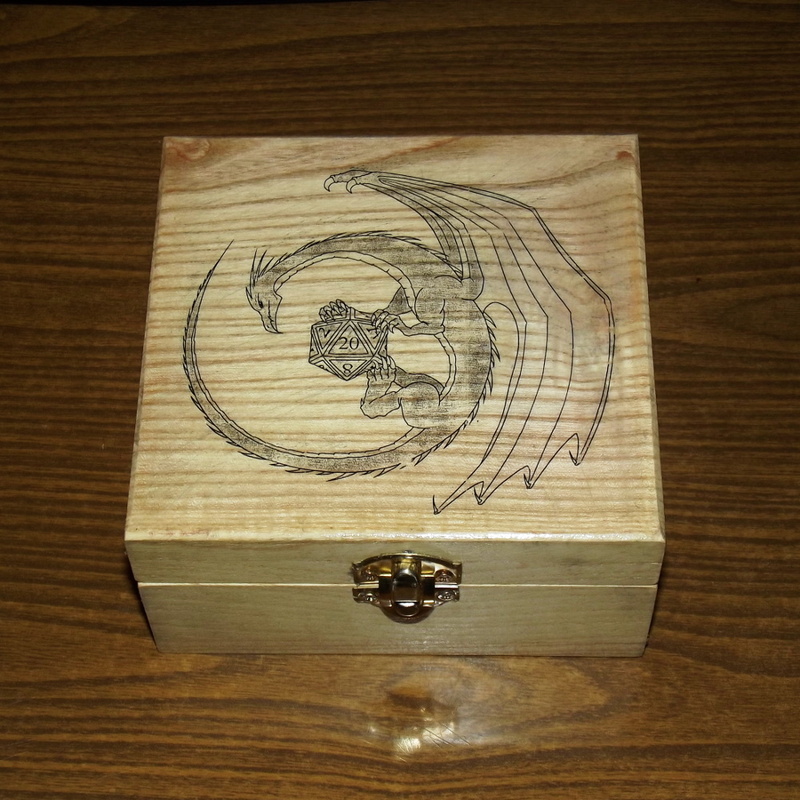
Varnish the box a couple of times. I used acrylic transparent silk-matte varnish for this one.
Step 8
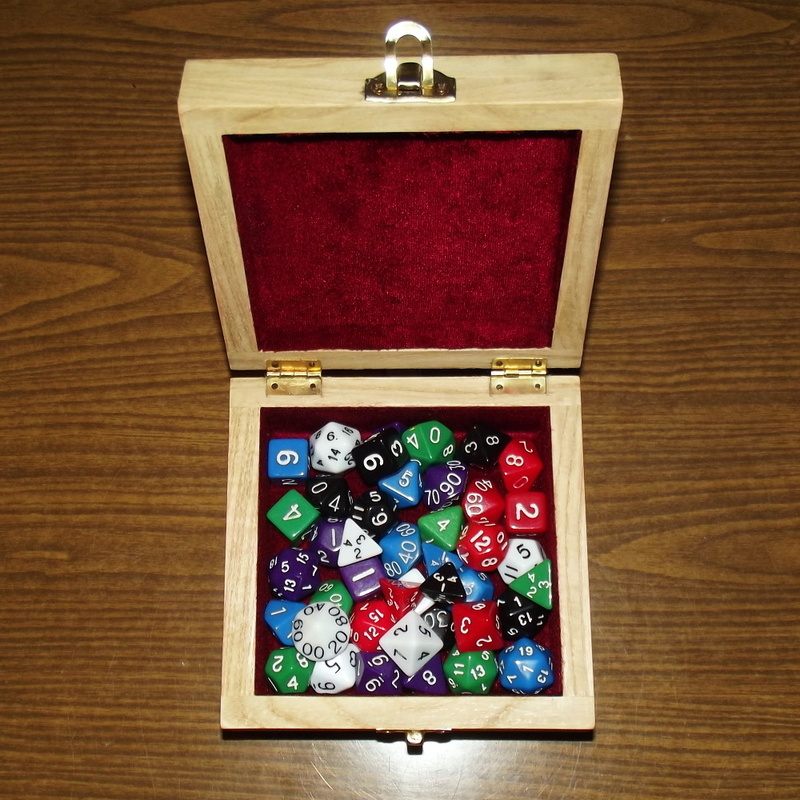
Cut and paste the fabric inside the box using the same PVA glue. Use paper templates to cut the fabric precisely. Now let it all dry for a while.

And now, you can fully enjoy the finished product and use it to keep all of your dice or other paraphernalia!
Discuss this post on Reddit